Customization
Customizing Data Models and Filters
Welle allows customers to customise and extend the data models and filters used in Welle. This allows the extension of custom attributes to WrenIDM and it also allows special business logic filters to be applied to certain pages.
Extend WrenIDM Schema
Important
You only need to extend WrenIDM schema if you require more attributes on top of the base IDM user object. Welle requires WrenIDM schema to be extended to support custom attributes like Manager, Department and Devices.
Attention
For fresh installation of Welle, WrenIDM 6.0 is already included with the extended schema. No additional extension is required.
For existing installation of WrenIDM, there is a need to extend WrenIDM schema for Welle. The schema changes have to be manually added via the Admin Console.
Add Manager Attribute
Login to WrenIDM Admin Console
Browse to Configure > Managed Objects
Edit User Managed Object
Click on the Schema tab
Scroll down the list of the attributes on the left until the manager attribute is found
Select and scroll down to the Required property of the manager attribute in the main panel
Change it from false to true. This makes the manager attribute of the user to be mandatory.
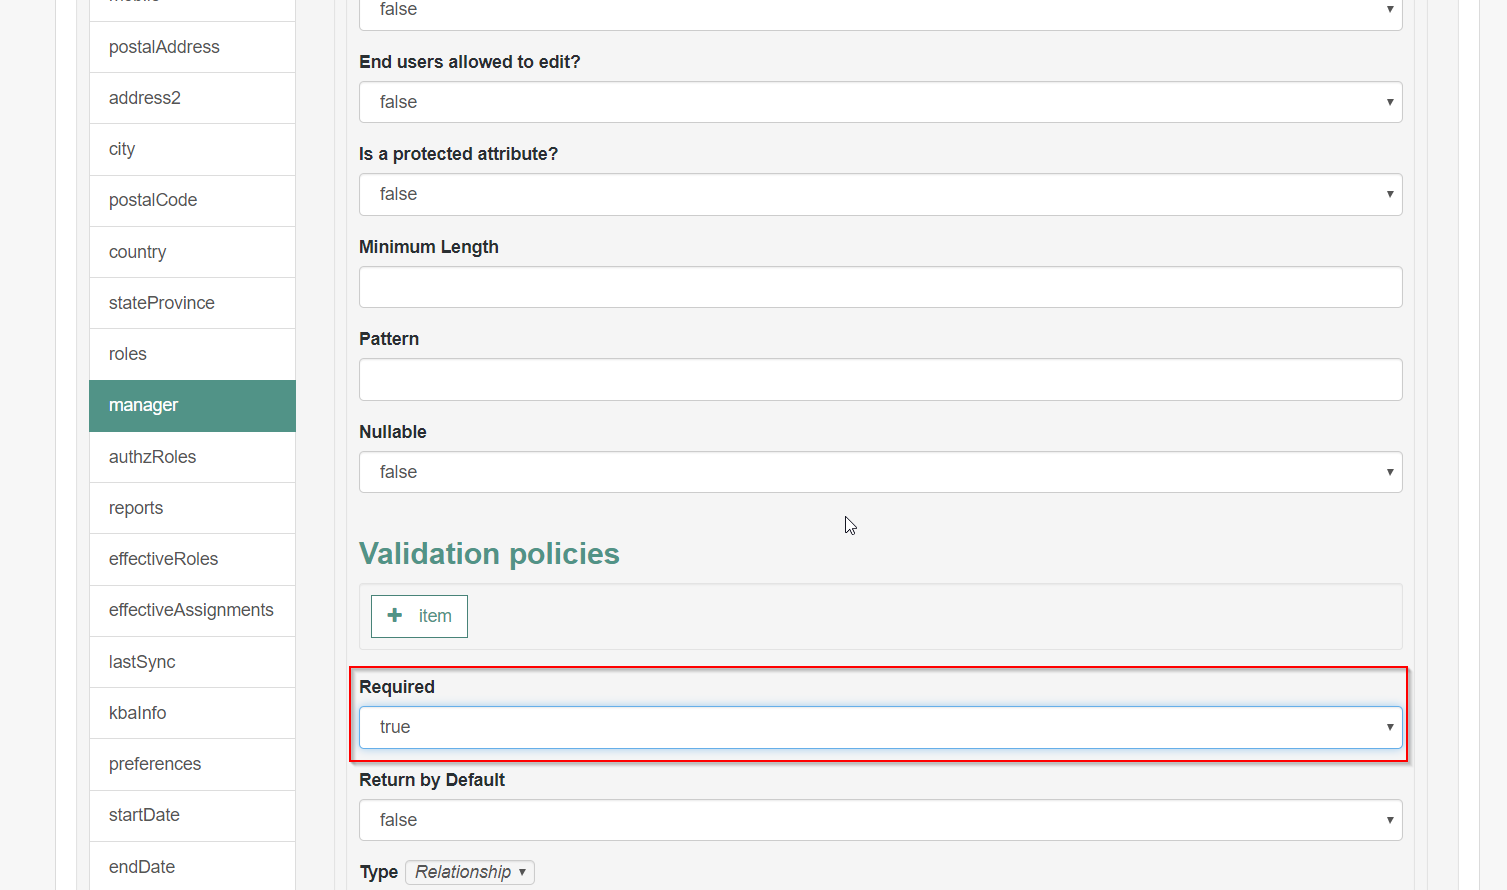
Click on the Save button to save the changes.
Add Department Attribute
Login to WrenIDM Admin Console
Browse to Configure > Managed Objects
Edit User Managed Object
Click on the Schema tab
Click on the button “+ Property”
Fill in the properties of the new attribute
Departmentwith the values belowProperty Name: department
Readable Title: Department Name
Viewable: true
Searchable: true
End users allowed to edit?: false
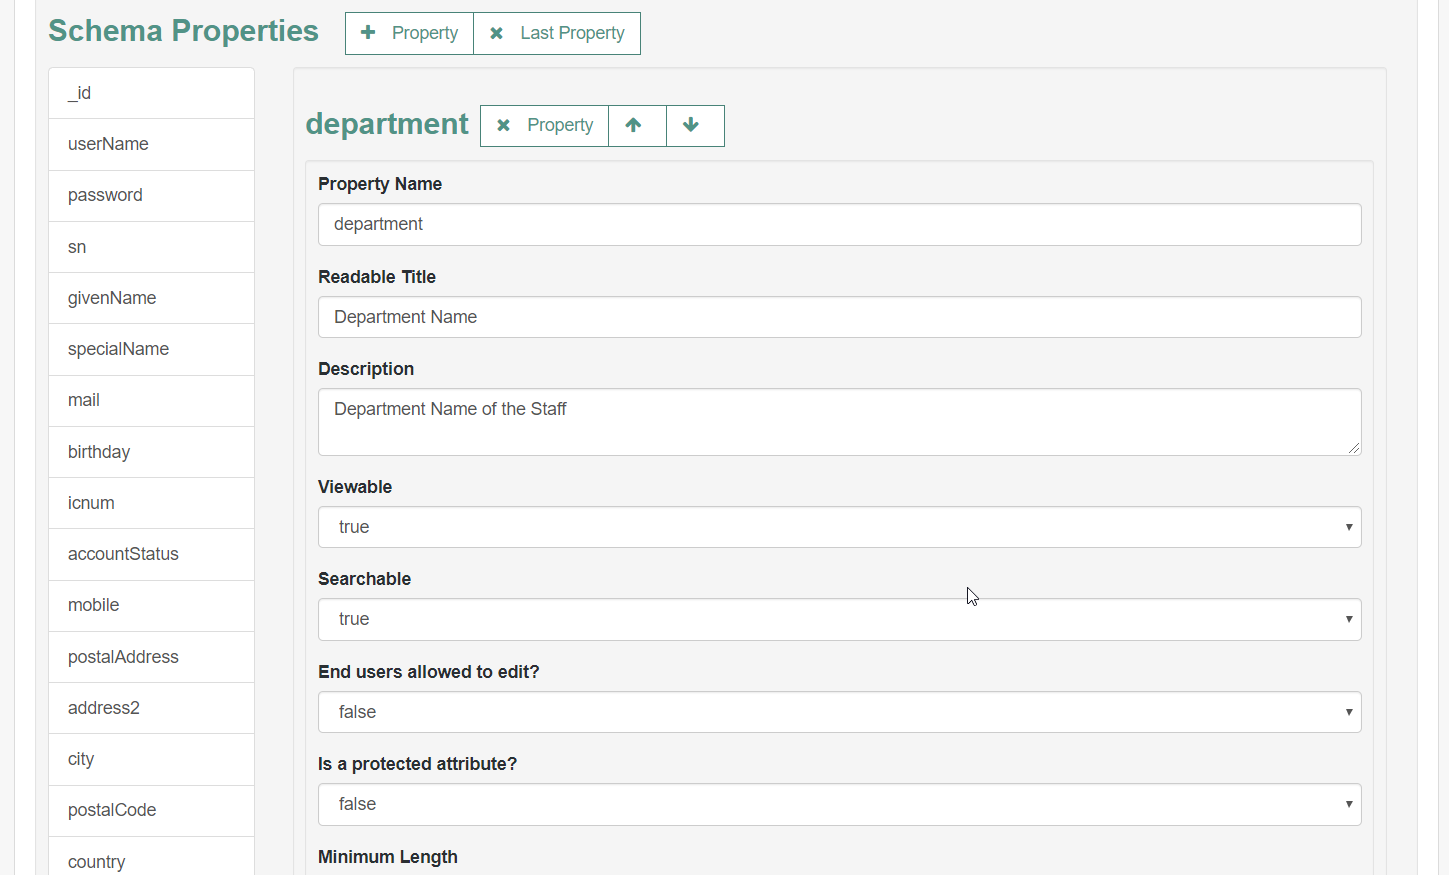
Click on the Save button to save the changes.
Add Devices Attribute
Login to WrenIDM Admin Console
Browse to Configure > Managed Objects
Edit User Managed Object
Click on the Schema tab
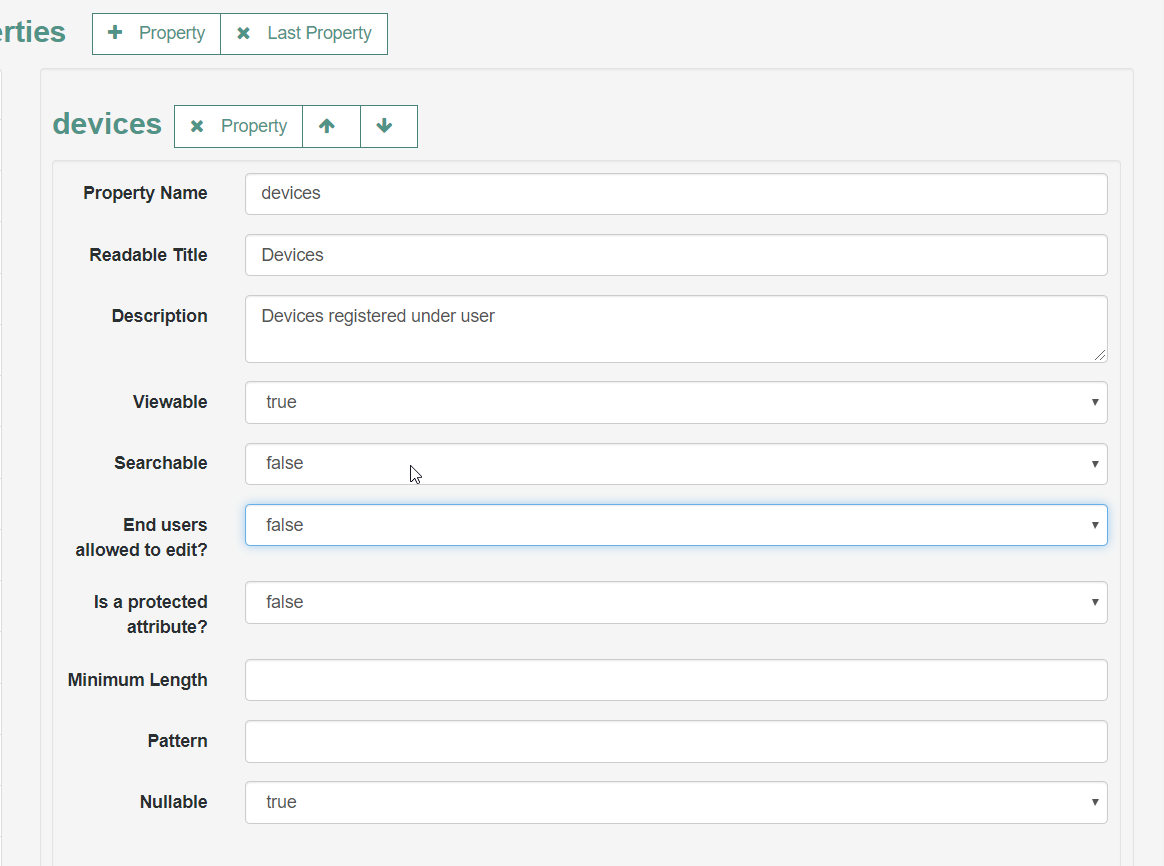
Click on the button “+ Property”
Fill in the properties of the new attribute
Deviceswith the values belowProperty Name: devices
Readable Title: Devices
Viewable: false
Searchable: false
End users allowed to edit?: false
Nullable: true
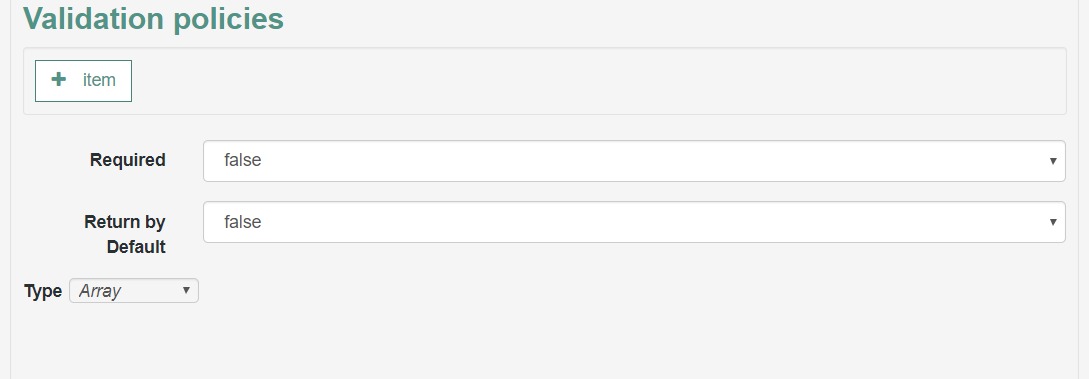
Type: Array
Item Type: Object
Add the below 4 properties to the object, deviceId, userAgent, location, lastLoginTimestamp
Property Name:
Readable Tile:
Viewable: false
Searchable: false
End users allowed to edit?: false
Nullable: false
Type: String

Click on the Save button to save the changes.
Customize Data Models
This section describes the steps needed to extend the data model in Welle to match that in IDM user object.
Attention
Make sure WrenIDM schema is extended before you add custom user attributes.
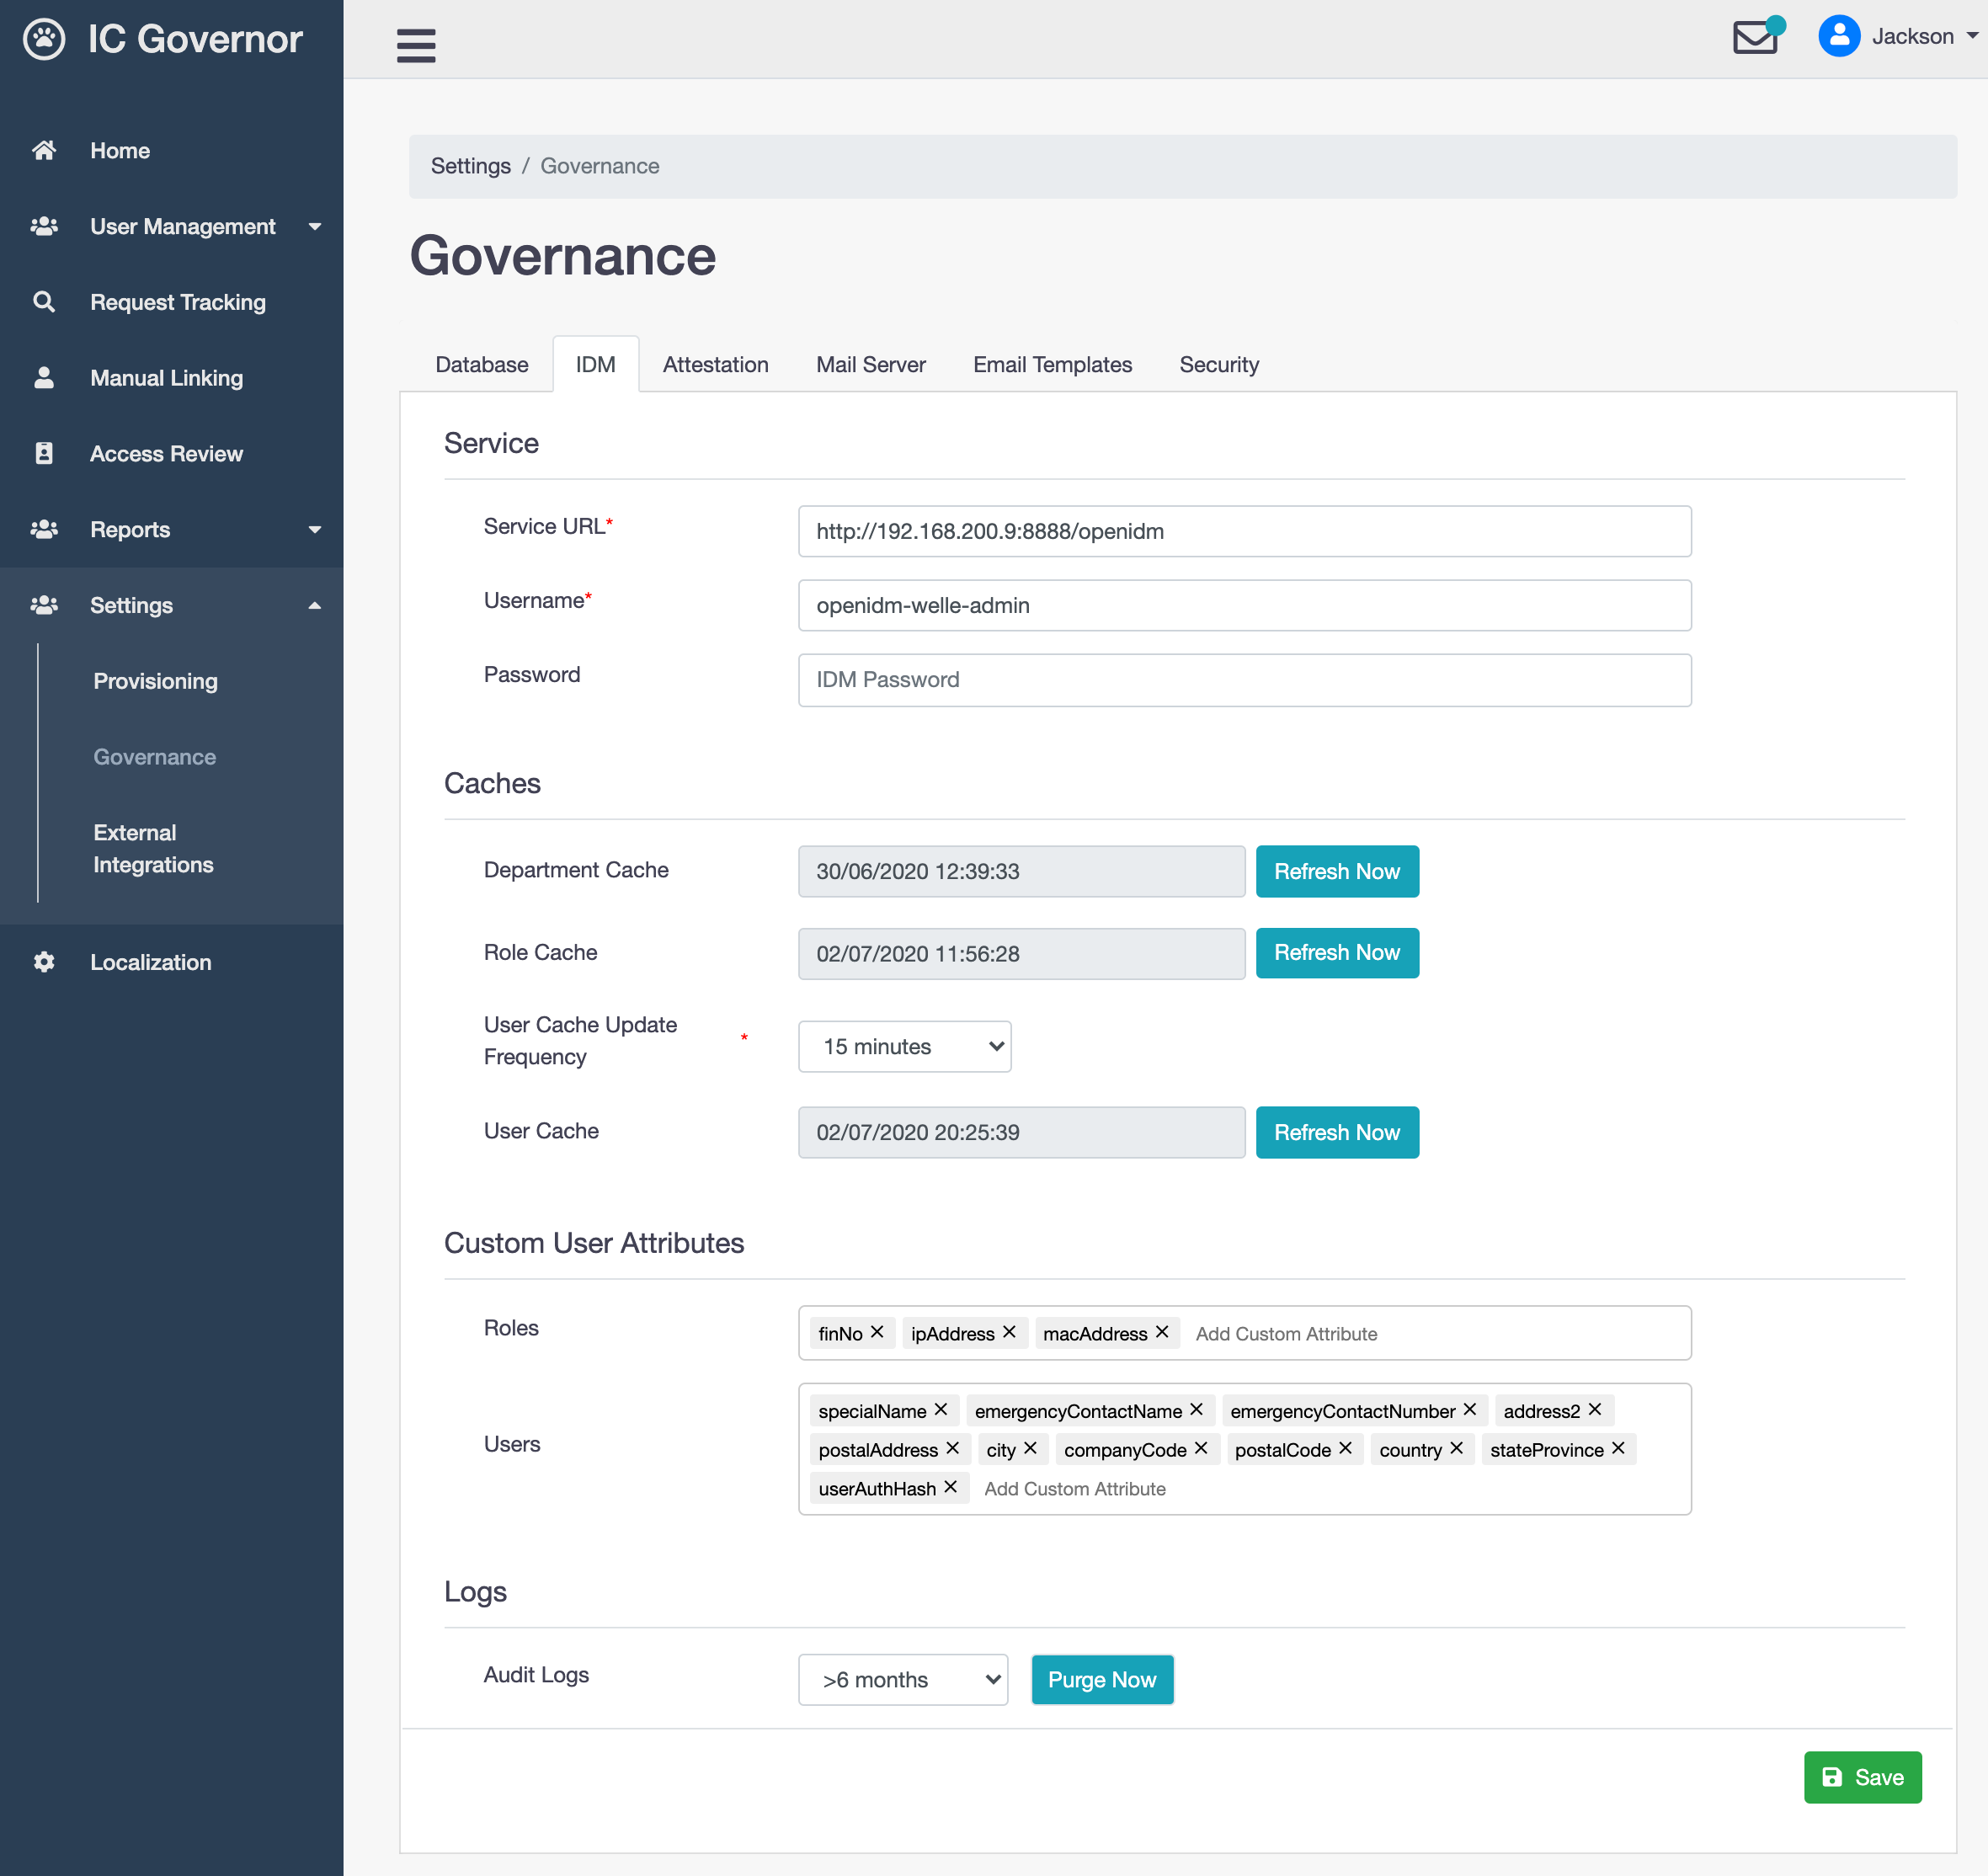
Log in to Welle Admin Console
Navigate to Settings > Governance > IDM Config
Add or delete attribute(s) in Custom User Attributes
Customize Data Filters
This section describes the steps needed to deploy a custom Java class file to extend the data filter.
Data filter allows customers to filter-by-row. For example, a Key User is only allowed to view users whose department is Engineering? For example, a user from department X is only allowed to view users from department Y?
There is code example in Welle Examples module that illustrates how data filter can be implemented in Welle.
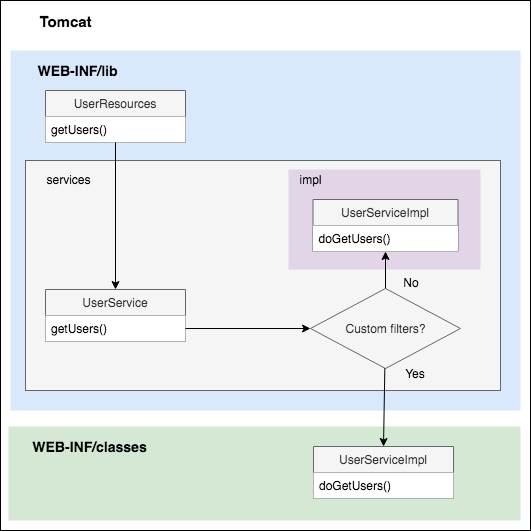
Once the custom code is compiled, the class file can be easily deployed to WEB-INF/classes directory. Web Application Classloader mandates that the classes found in WEB-INF/classes take precedence over the ones found in WEB-INF/lib.
Compile Customized Codes
Check out the Welle project from Git source control
Make sure that you are able to build the whole Welle project with Maven
Change the necessary data filter logic in Welle Examples module
Build the whole Welle project with maven. Make sure it is successfully completed
Once built, locate the compiled class file Welle Examples module under the target directory.
Copy the compiled class file to WEB-INF/classes onwards. An example is
welle/WEB-INF/classes/sg/ic/welle/services/impl/UserServiceImpl.classRestart the Tomcat server. The custom class file will be picked up by Tomcat accordingly
Test and verify the new data filter logic
Customizing Web UI
Welle provides users a way of customizing how web pages look. Generally, this involves only a few simple steps:
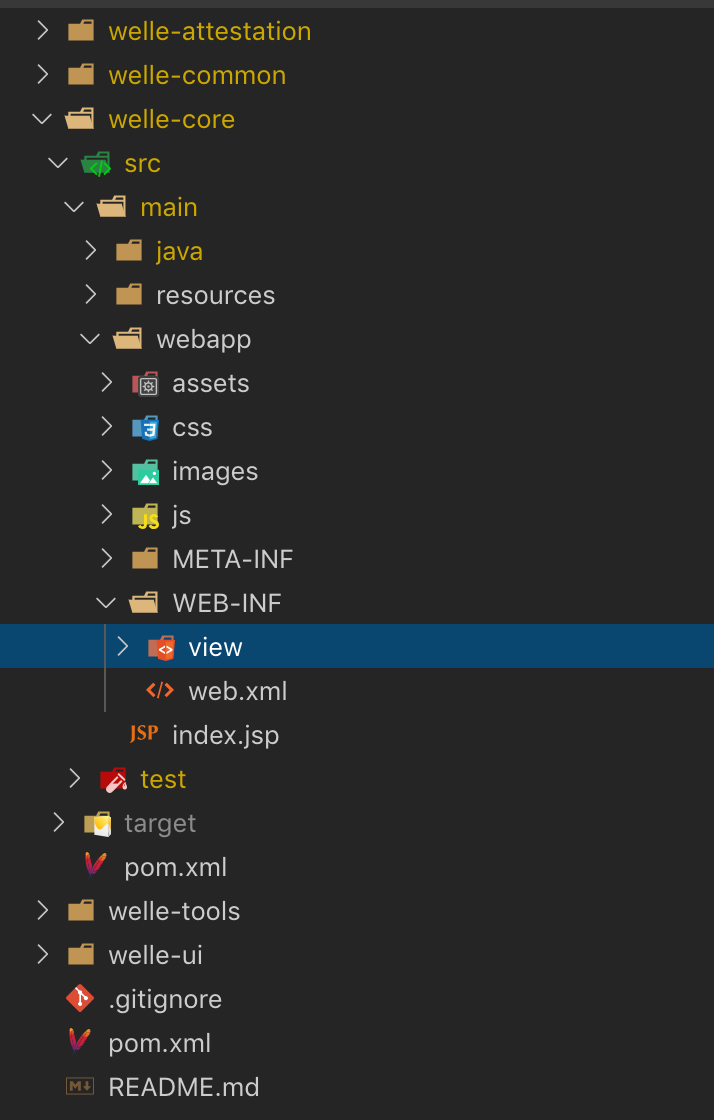
Navigate to the WEB-INF directory
Copy the relevant files from the view directory, placing them in the custom directory
Make changes required to the files in the custom directory
Hint
If you are editing the files before compiling welle, WEB-INF can be found in <project root>/welle-core/src/main/webapp/WEB-INF. On deployed versions of Welle, you can find it in <catalina home>/webapps/<context root>/WEB-INF
Example 1 - Replace login page image
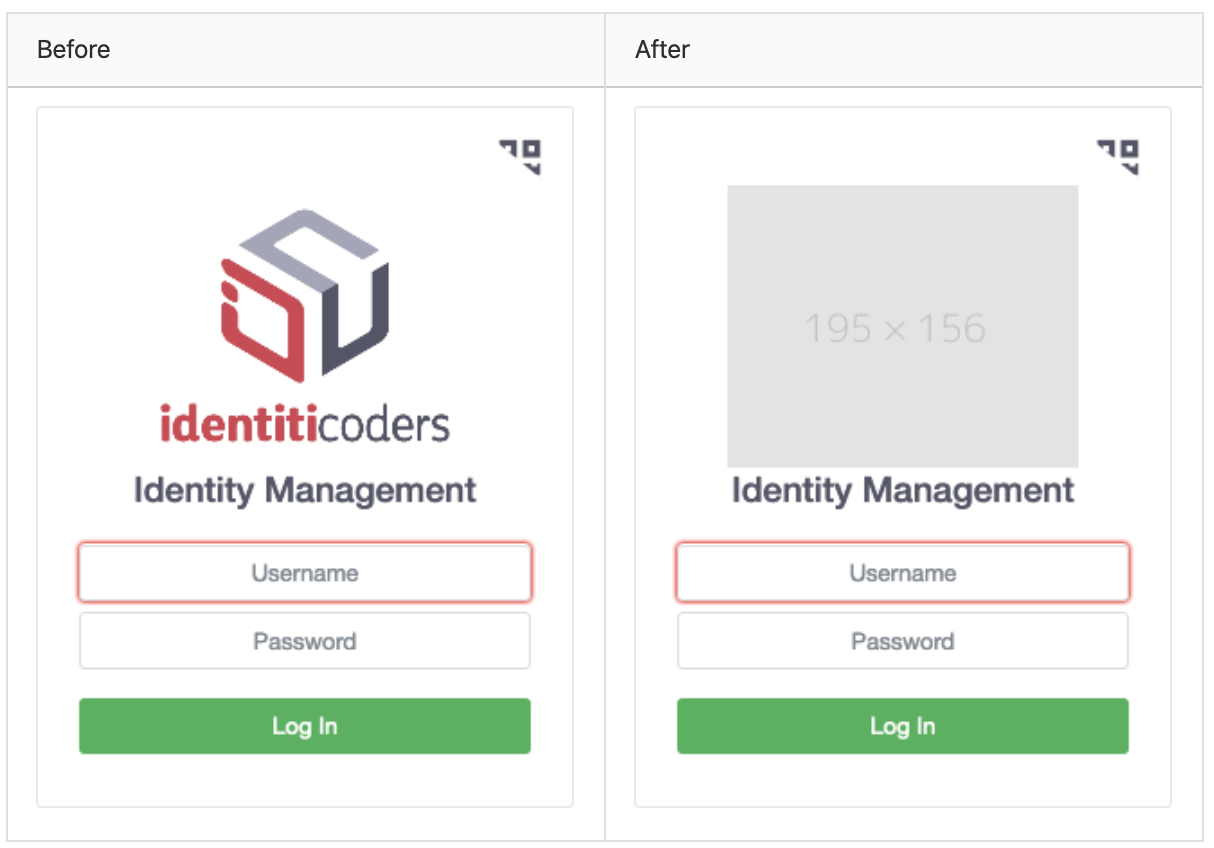
In this section, we demonstrate how to replace the image in the login page. We will achieve this by replacing image files in the repository before Welle is compiled, and assume that you already have a copy of the Welle source code on your machine.
Navigate to the WEB-INF directory
Copy relevant files
Copy login.jsp from the view directory
<catalina home>/webapps/<context root>/WEB-INF/view/login.jspto the custom directory<catalina home>/webapps/<context root>/WEB-INF/custom/login.jsp, creating the custom directory if it does yet exist.Note
The file structure of the custom directory should mirror that of the view directory (customized pages that were originally in
/WEB-INF/view/pagesshould go intoWEB-INF/custom).
Make changes
--  <img class="login-banner-image" src="images/ic.sg.2.PNG" alt="identiticoders logo" />
++  <img class="login-banner-image" src="https://via.placeholder.com/195x156" alt="identiticoders logo" />
Example 2 - Change sidebar menu logo
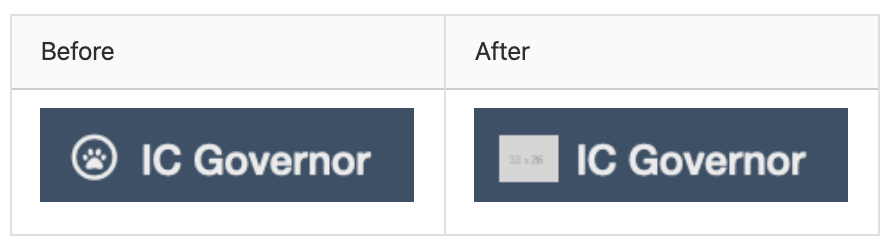
In this section, we demonstrate how to replace sidebar menu logo. We will achieve this by replacing image files in the repository before Welle is compiled, and assume that you already have a copy of the Welle source code on your machine.
Navigate to the WEB-INF directory
Copy relevant files
Copy page_brand.jsp from the view directory
<catalina home>/webapps/<context root>/WEB-INF/view/pages/page_brand.jspto the custom directory<catalina home>/webapps/<context root>/WEB-INF/custom/pages/page_brand.jsp, creating the custom directory if it does yet exist.Note
The file structure of the custom directory should mirror that of the view directory (customized pages that were originally in
/WEB-INF/view/pagesshould go intoWEB-INF/custom/pages).
Make changes
<button class="p-0 btn btn-block iconed-button" onclick="window.location.href='index'">
--     <span class="company-logo fa-stack">
--       <em class="far fa-fw fa-circle fa-stack-2x"></em>
--       <em class="fas fa-fw fa-paw fa-stack-1x"></em>
--     </span>
++     <img class="company-logo"
++       src="https://via.placeholder.com/33x26"
++       alt="company logo"
++     />
       <span class="company-name h3 mb-0">IC Governor</span>
</button>
<button class="btn d-block d-sm-none" onclick="sidebarToggle()">
    <i class="fas fa-times" style="font-size:1.5rem"></i>
</button>