Installation of Welle Server
Preparing for Installation
Check that the minimum requirements from here are satisified.
Obtain the installation package from the distribution channels
root account is required for installation
Installation
Unzip the installation package into a working folder /home/user/installation
Set the installer shell script
welle-installation.shto be executable# chmod +x welle-installation.shRun the installer shell script
welle-installation.sh# ./welle-installation.shThe installer will prompt to enter the installation destination folder
Please enter the installation destination folder: [/opt/welle] /opt/welleNext, the installer will ask for the database hostname and port to do a test connection
Please enter the MySQL/MariaDB database hostname: [localhost] localhost
Please enter the MySQL/MariaDB database port: [3306] 3306

Checking connection to MySQL/MariaDB database localhost:3306 ...
MySQL is installed and Database is reachable.
Next, the script will ask for the root password
Please enter the MySQL/MariaDB IDM database root user password:Next, the script will ask for the JVM memory size to be set for Maximum and Minimum for IDM first, which is recommended to be the same
Please enter the IDM maximum JVM memory size (Xmx), i.e. m for Megabytes, G for Gigabytes: [512m] 512m
Please enter the IDM minimum JVM memory size (Xms), i.e. m for Megabytes, G for Gigabytes: [512m] 512m
Lastly, the script will ask for the JVM memory size to be set for Maximum and Minimum for Tomcat, which is also recommended to be the same
Please enter the Tomcat maximum JVM memory size (Xmx), i.e. m for Megabytes, G for Gigabytes: [512m] 512m
Please enter the Tomcat minimum JVM memory size (Xms), i.e. m for Megabytes, G for Gigabytes: [512m] 512m
Before starting the installation, the script will prepare for the IDM admin user and operational user by asking for the new passwords to be set. A service user welle will also be created.
Please enter the IDM admin password:
Please enter the IDM admin password again:


A user needs to be created for operational needs.
Please enter the user to be created: admin


Operational user does not exists, creating user.


Please enter password for operational user:
Please enter password for operational user again:


Operational user created


User welle does not exists. Creating user.
IDM installation will begin, creating into the installation destination folder specified above and creating the database needed. A startup script will also be created and added to system services. Finally, the IDM service will be started.
Installing Java..


Start WrenIDM Installation...


Starting WrenIDM... Please wait..


Creating IDM admin user..


WrenIDM is installed!
Next, the Tomcat installation will begin. The installer script will be creating into the installation destination folder specified above and creating the databases needed. A startup script will also be created and added to system services.
Start Tomcat Installation...


Welle Databases Imported!
Last Step for the installer script, will be to deploy the web application to Tomcat
Web Application deployed to Tomcat.Now, the installer script will restart all services to complete the installation.
Restarting services to complete installation.. Please wait..


Installation completed!


Please login to the application at http://<ip>:8080/welle with Username: admin & IDM admin password
Access IC Governer at http://<IP>:8080/welle
Configuration
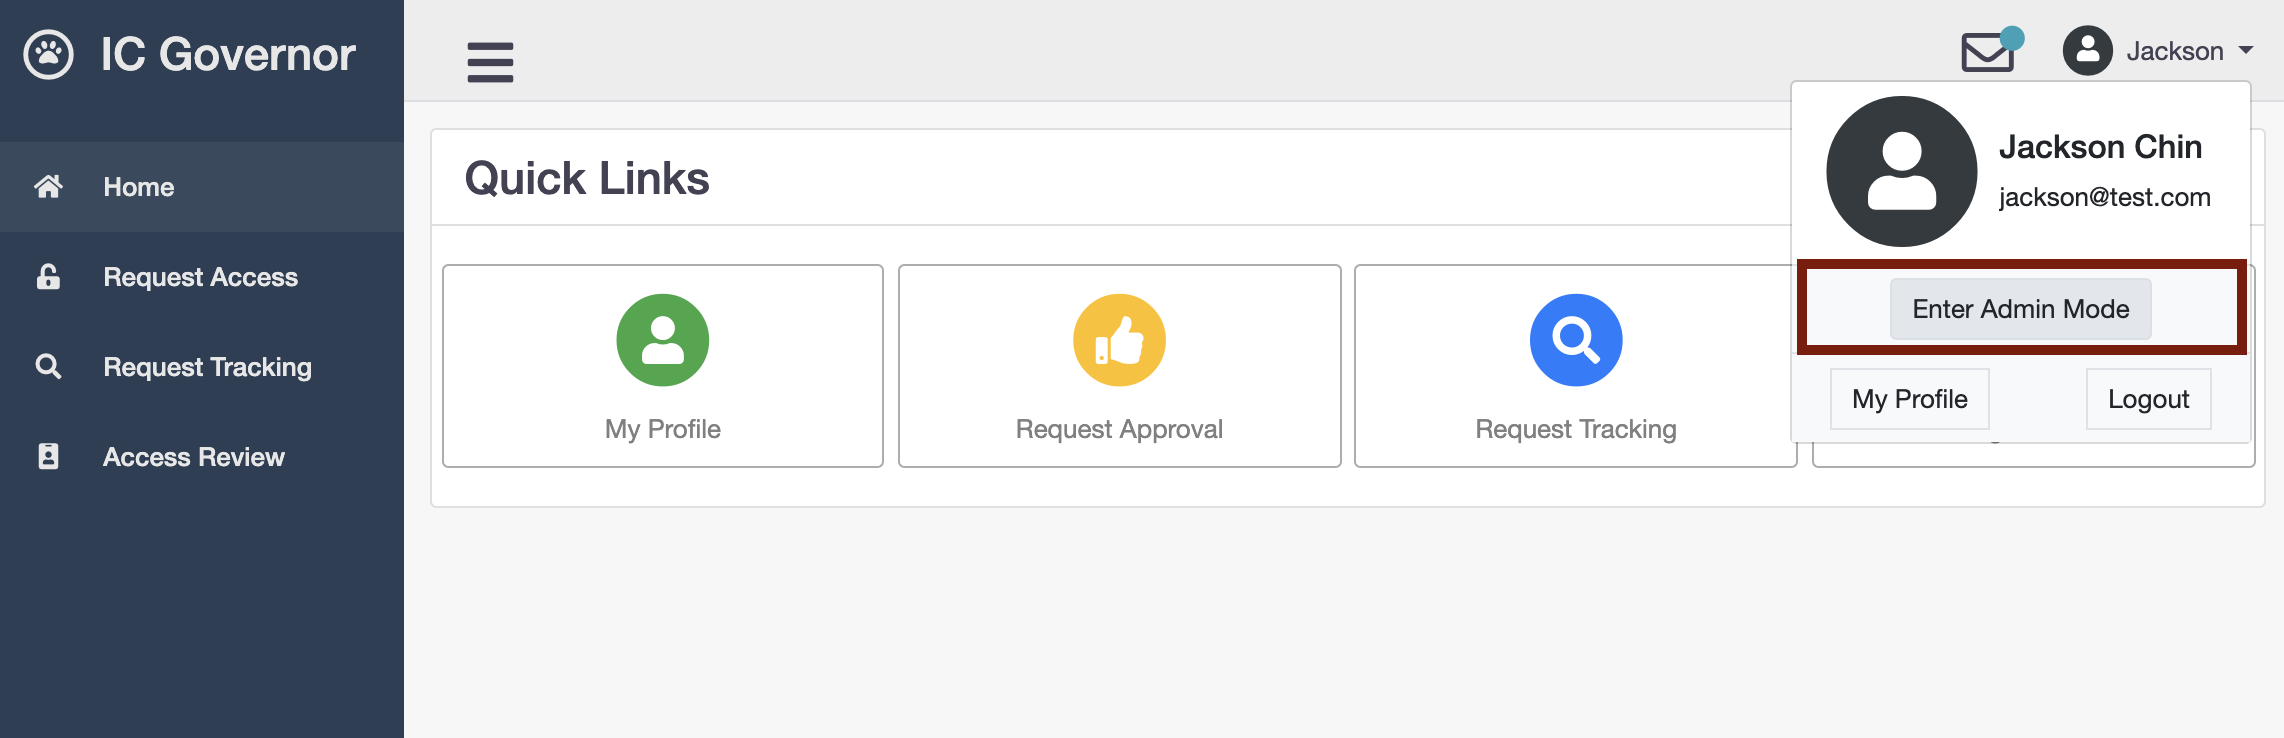
After installation, login as the default administrator.
Enter Admin mode by clicking the button at the top right.
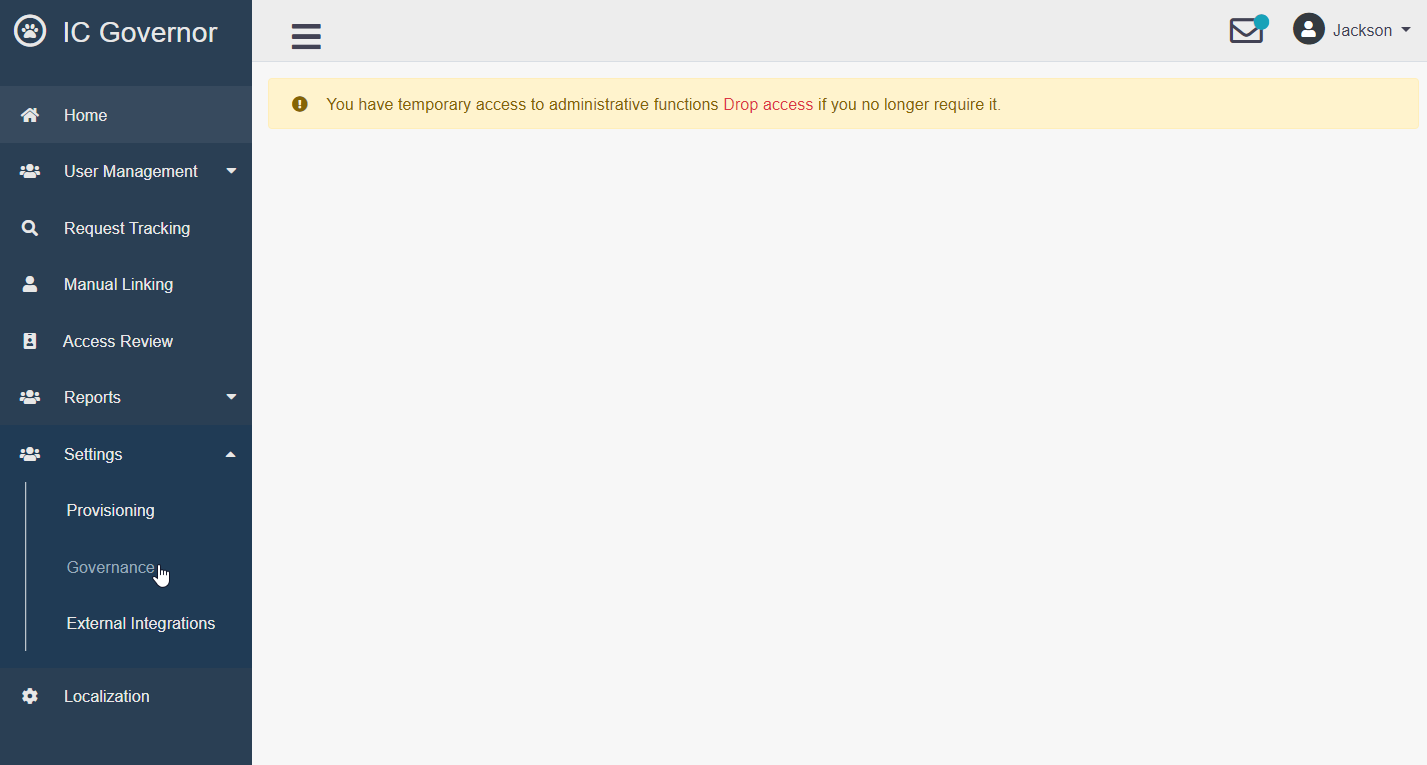
Browse to the Settings > Governance page.
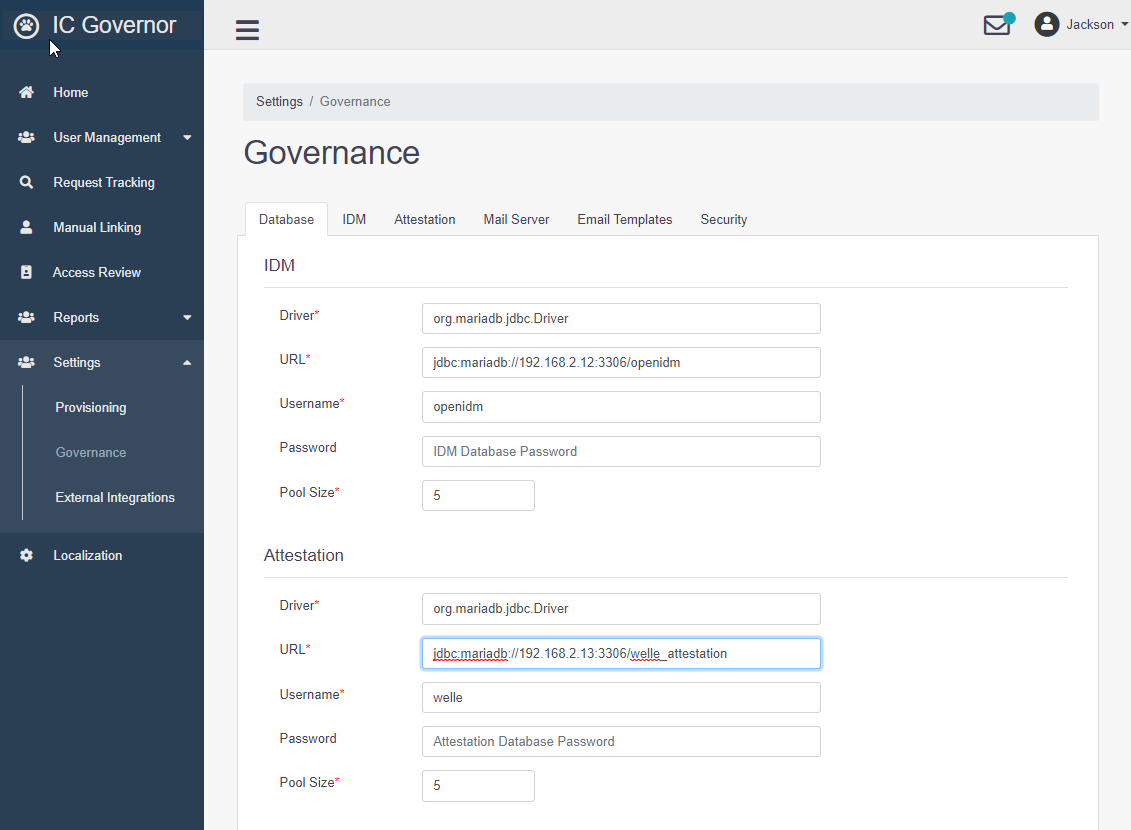
In the Database tab, enter the database information for IDM, Attestation and Attestation Archived.
In the IDM tab, update the IDM information

In the Attestation tab, update the base URL information

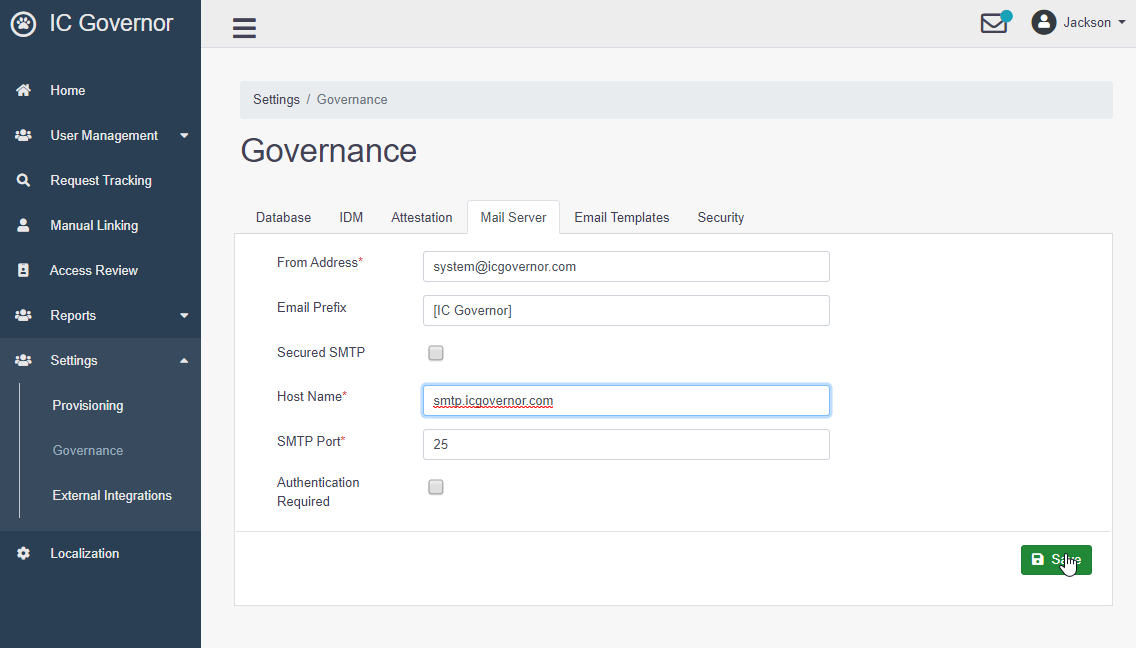
In the Mail Server tab, update the mail server information
Restart Tomcat to connect to the configured databases and IDM.
# /etc/init.d/tomcat stop
# /etc/init.d/tomcat start